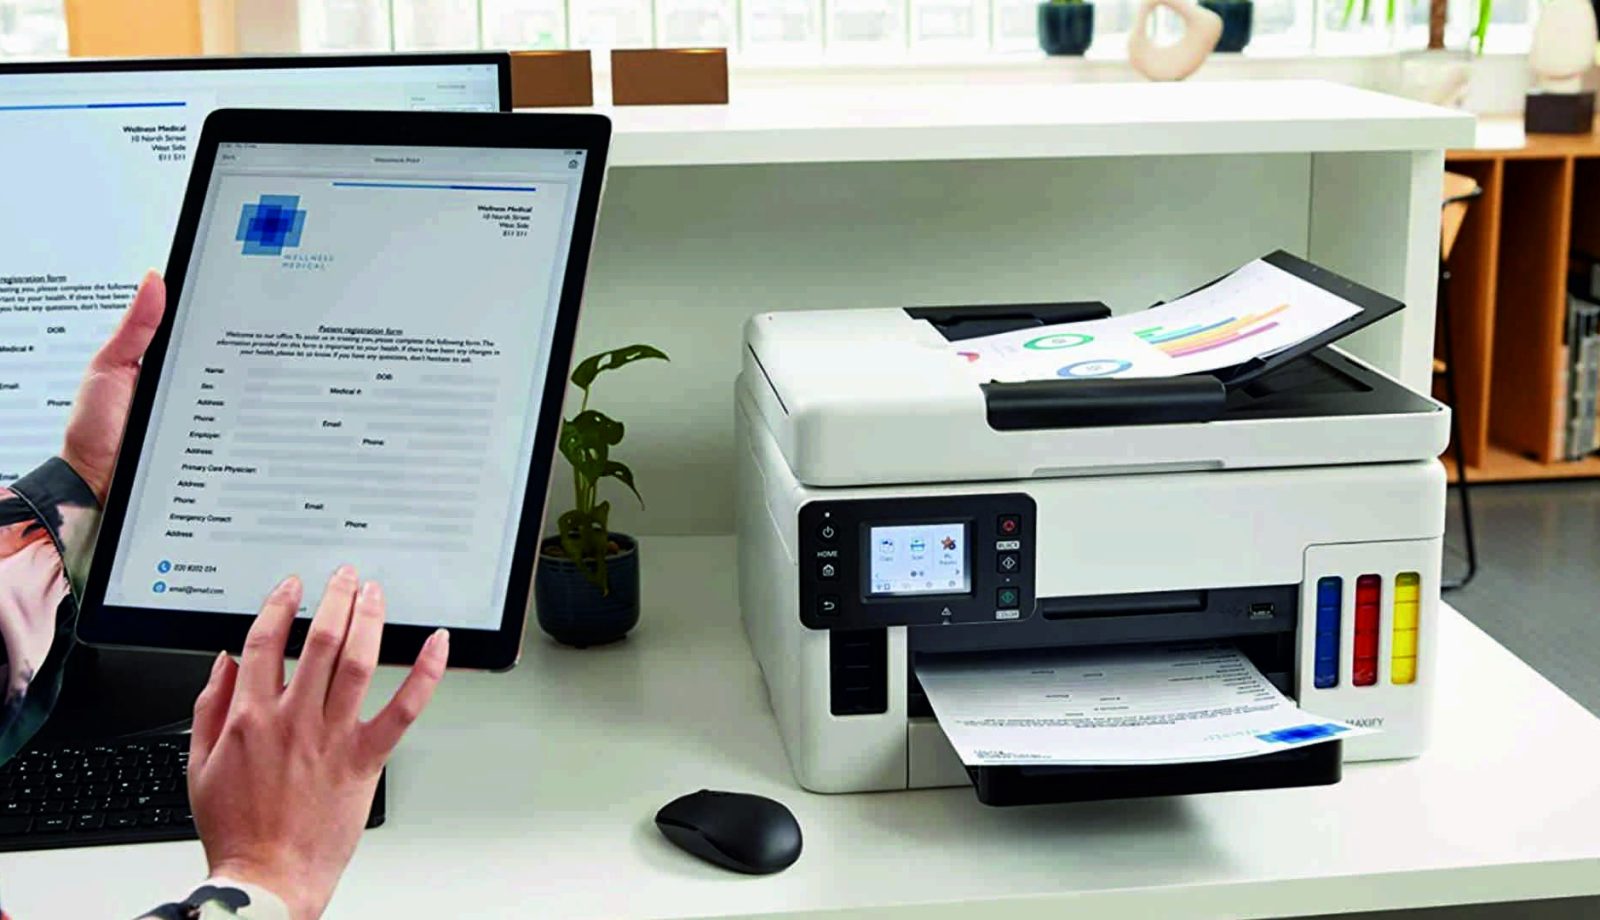
In today’s tech-driven world, wireless printing has become a game-changer, allowing you to print from anywhere in your home or office without the hassle of tangled cords. Whether you’re printing from your laptop, smartphone, or tablet, connecting your printer wirelessly can simplify your life and boost your productivity. Let’s break down how wireless printing works and how to connect your printer to any device.
Understanding Wireless Printing
Wireless printing uses Wi-Fi or Bluetooth technology to send print jobs from your device to your printer. This means you’re no longer tethered to a single spot. Instead, you can print documents or photos from the comfort of your couch or even while you’re on the go, as long as you’re connected to the same network.
Step 1: Check Your Printer’s Compatibility
Before diving in, make sure your printer supports wireless connectivity. Most modern printers come equipped with Wi-Fi capabilities, but if you have an older model, check the user manual or the manufacturer’s website. Look for features like “Wi-Fi Direct” or “AirPrint” for Apple devices, which are key indicators of wireless functionality.
Step 2: Connect Your Printer to Wi-Fi
Once you’ve confirmed that your printer is wireless-capable, it’s time to connect it to your Wi-Fi network. Here’s how:
- Power on the Printer: Make sure your printer is plugged in and turned on.
- Access the Control Panel: Use the printer’s control panel (usually a screen or buttons) to navigate to the network settings.
- Select Wi-Fi Setup: Choose the option to set up a wireless connection. Your printer will search for available networks.
- Choose Your Network: Select your Wi-Fi network from the list and enter the password when prompted.
- Confirmation: Once connected, your printer should display a confirmation message or indicator.
Step 3: Install Printer Software
To ensure smooth communication between your devices and the printer, download the appropriate software or drivers from the manufacturer’s website. This software often includes additional features that enhance your printing experience. Follow the installation prompts, and make sure to select the wireless option during setup.
Step 4: Connect Your Device
Now that your printer is connected to Wi-Fi, it’s time to connect your devices:
- For Windows Devices: Go to “Settings,” then “Devices,” and select “Printers & Scanners.” Click “Add a printer or scanner,” and your printer should appear in the list. Select it and click “Add device.”
- For macOS Devices: Open “System Preferences,” then click on “Printers & Scanners.” Click the “+” button to add a printer. Your wireless printer should show up; select it and click “Add.”
- For Smartphones and Tablets: On iOS, go to the “Print” option in the share menu of any app, select your printer, and adjust your settings before printing. For Android devices, you may need to download the manufacturer’s app (like HP Smart or Epson iPrint) to locate and connect to your printer.
Step 5: Start Printing!
With everything set up, you can now print from any connected device. Just select your printer from the print menu whenever you’re ready to print. Whether it’s documents, photos, or presentations, enjoy the convenience of wireless printing!
Conclusion
Wireless printing has transformed how we interact with our printers, making the process easier and more flexible. By following these simple steps—checking compatibility, connecting to Wi-Fi, installing software, and linking your devices—you can unleash the full potential of your printer. So, say goodbye to the tangled wires and enjoy the freedom of printing from anywhere!

